Saturday, October 2, 2010

Salmon Run Field Trip!


We just finished a science unit on watersheds. Our stop at Taylor Creek in South Lake Tahoe was a perfect stop to see a watershed first hand, and see all of the Kokanee Salmon. Our timing was perfect as the creek was full of salmon heading upstream to spawn. Much to the boys' delight there were several who had completed their journey and died. I'm pretty sure the dead salmon were even more impressive than the live ones.


It was a beautiful walk through the different parts of the watershed, including lots of aspen groves.


The river was thick with salmon!
We learned all about the life cycle of the salmon, but really it was just fun to look at all of the fish. It was exciting to see them swim through the shallow water and jump up little waterfalls.


Baby was very excited to see all of the fish.


The stream profile chamber lets you get a look under water.

If you are in South Lake Tahoe in the early Fall this is definitely a must see!

Sunday, September 12, 2010

(F)unschooling: Boxing up some learning fun!

I'm a firm believer that kids learn through play, and that this doesn't end after preschool. Maybe some day I will unschool. I think about unschooling a lot. I really like the philosophy, but I just haven't been able to fully embrace the concept. I find my kids (and myself) do better with a bit more structure. As a former classroom teacher I have a hard time letting go of a formal curriculum. We are using K12 this year which is a bit too structured and traditional-school-like for my taste, but I'm tweaking it to make it work. (EDIT: We left CAVA/K12 after 6 weeks)

I do however try to "funschool" as much as possible. While I often find myself in a rut, and only giving kids assignments that they "have to" do, I try hard to keep some fun in the mix. What is the point of homeschooling if you are just doing "school at home"? One of my main reasons for taking my kids out of school was because they were not having fun. It was really turning in to "learn this for the test". My kids love to learn and I'd like to keep it that way!

Switching over to using Workboxes really helped me to find time to "assign fun". It is easy to throw something fun into a box. I think when you have a box where you play with blocks, and another that tells you to go ride your bike, it can make that spelling box a little bit more bearable!


My kids are really creative and spend lots of time doing legos and playing outside. They don't really "need" me to "assign fun". However, it is great to include some of these things as part of the "school" day.

Here are some ways I put fun into our boxes and into our school day.

First, I'm most likely to put the fun stuff in if it is right there, ready to go. I have my little set of drawers where I keep a lot of supplies. I have drawers for math and language, science and games. Here is a peek into the drawers:


Language:
In this drawer you can see some letter cards and letter rubber stamps. Games like Scrabble Slam is fast paced, fun, and a great phonics practice or review. Lots of great homophones often come up in the game and it is a great time to ltalk about those. Bananagrams is both fun and educational. There are lots of ways you can play, and you can even make up your own games with the little letter tiles. (Bananagrams tiles also work great to practice spelling words).


Math: I have things like Math Dice, and cards to practice math facts by playing games. Very few kids just love to do page after page of math worksheets of multiplication facts. I know my kids don't! Instead we play games with cards and dice to practice those facts that they need to memorize.


Puzzles and Games: The kids really like puzzle type games. I think it is good to just get the brain to change gears and think in a different way.
These are easy to find, often pretty cheap, small enough to put into a Workbox and can often be played alone. A puzzle game that can be played with mom that we really enjoy is Blokus Duo. There is a frog hopper game with a deck of cards that gives different levels of challenges.


Activity cards, telling the kids certain physical activities to do are also great and help to break up the day. There are some you can download here, or you can make up your own.


Up on the shelf are some bigger items that I keep within reach.
They are in clear shoeboxes just like the Workboxes, so I stuck some velcro dots on the end and I can just put them right onto the child's shelf with a tag. I figure the more I can do ahead to make it easy for myself, the better! I have a collection of blocks and math manipulatives such as Cuisenaire Rods and Pattern Blocks.
The kids new favorite was handed down to us from a friend of mine: Wedgits. They love building with these blocks, and when I saw a pack of activity cards for them on clearance at a local toy store I got those to use in the Workboxes.

Here they are, both working hard with the Wedgits (even though only one of them had it as their Workbox). Everyone can join in on the fun!


Go through your closets and hit the yard sales and thrift stores. Before you know it you will have lots of supplies!

Saturday, September 11, 2010

How Workboxes Work in our House

We are a couple of weeks into our second year of homeschool at our house. One thing that we have found works well for us is the Workboxes system. I must admit I never read "the book", Sue Patrick's Workbox System. I read a lot of blogs, looked at a lot of photos and came up with our own version of the system.
For the first time this year the boys are enrolled in the California Virtual Academy (CAVA) which uses the K12 curriculum. I find it is easy to use the Workboxes with this curriculum. (EDIT: We left CAVA/K12 after 6 weeks)
I have one child who is easy to homeschool. He is organized, and will sit quietly and do "seatwork". If I were just working with him I wouldn't need any kind of "system".
My other child is not that way. He has been diagnosed with ADHD and OCD. I know some people don't like labels for their kids. For me, it helps to remind me that I didn't do, or not do anything to cause the way he goes through life. I can't change him, but I can help to try and give him tools to make it easier to get through life. With this child, I needed a "system'!
While I try and make the kids assignments not to "schooly" and avoid worksheets and generally boring busy work, there still needs to be a way to get through the curriculum. The Workboxes help with this. I find that it does several things that are particularly helpful for a child with ADHD:
  • It helps with organization.
  • It is visual and tactile. He can see how much work (how many boxes) need to get done. He physically moves the tag off the box and onto the chart when he is finished with it.
  • It is self rewarding in that he can see the number of tags increase on his chart and feel a sense of accomplishment.
  • It is not so overwhelming to have one task in a box. It doles things out in small enough chunks for him.
  • It takes away me being the one telling him to do each assignment. Instead he just takes a box off the shelf. I find this leads to fewer power struggles.
  • It gives him a sense of control. I allow him to choose which box to do next, he doesn't need to do them in any specific order.
  • It helps me to insert more fun stuff and games. When I put the game in the box the night before I'm not overwhelmed and ready to quit for the day! Before, by the time I got through math, writing, science, etc. I was too tired to say "Let's play Scrabble!" But when it is on one of the boxes it is different.
  • It promotes independence. He chooses a box and starts working on it on his own (unless it is a "MOM" box, then he brings it to me for us to do together).
With my first child, I just had to tell him how the system works, once. With my second child it took a bit more work. The first week with the workboxes there were boxes and tags and supplies EVERYWHERE! It took some time, and lots of one on one to teach him to take down one box, finish it, move the tag, put it away, then take the next box. I think just learning a routine like that is valuable in itself.


This is what it looks like:
I was able to use some shelves that we already had for the workboxes. Each child has 12 boxes, and I usually "fill" 9-12 boxes each day. At first I thought, how will I ever fill 12 boxes, that is WAY too much! When I started doing it I quickly realized that it wasn't too much, because many of the boxes have short activities. Plus, I needed lots of boxes so that I could add lots of "fun" stuff. My kids love the Active Activity Cards. I downloaded those and made more of my own.

I was amazed at first to find that if I put it into a Workbox, they just did it. It was that easy.

When they finish a box, they pull off the tag and and place it on their chart.

I have one child who always carefully places each tag on his chart in numerical order. My other child is a bit less orderly with how he gets his number tags onto his chart. I'll leave you to figure out who does it which way.


This system also keeps ME organized and on track. 
I'm much less likely to get too tired at some point and just put something off until the next day (and the next). I keep things on hand to add to the boxes to keep things interesting and "hands on". In addition to my shelves full of supplies I have this little cart with little games, math manipulatives, hands on science equipment and other supplies. I find that if it is within reach I'm much more likely to take advantage of it.

It is a lot of organization up front, but not too difficult to maintain!


Added January, 2013

More resources:
Workbox Tags
More Workbox Tags
Workboxables

More on using workboxes with a child with ADHD/Aspergers, or similar challenges:
Get Creative!
Fun Workboxes
Workboxes and Power Struggles

Visit my Workboxes Pinterest board

Tuesday, August 17, 2010

How will I homeschool with a toddler?

This year, when we start school my darling daughter will be 14 months old. Last year at this time she only weighed about 6 pounds. I just strapped her to my chest in the Moby Wrap and went about my day. Teaching the kids, going on hikes etc.

The good old days with a sleeping baby in a wrap!

So how am I going to focus on teaching when I have this adorable little rug rat getting into all of our school supplies?

Well, I have a few ideas. First, we use Workboxes, and love it! Some of the boxes the kids work on independently, but others have a "work with Mom" tag. When they have one of those boxes they bring the box to me so that we can work on it together, and I can give them some direct instruction. The "Mom" boxes have a "Mom" tag on them. So I decided to make a "sister" tag and put together workboxes that they will do with their little sister.


I basically copied the other work box tags that we have. I use the Circle Tags by Cassie that can be found and downloaded here: Schedule Cards and Numbers Printables

These workboxes will be really simple. Just something that the boys can do with the baby for 5-10 minutes. Here are a few ideas:


A ball so that they can play catch (she loves to play catch!)

A few books to read to little sister.


A special toy to play with together.


I figure if each boy has one "sister" box each day, there is at least some time set aside where she will get one on one attention from her busy brothers. It will also let me grab a minute here and there to get things done.

My big concern is when they have Mom boxes. Will we have to wait until nap time? I have stashed a couple of boxes of toys on our "work together" desk in the office where the boys will bring their Mom boxes. I will save these toys to get out for baby during this time. Hopefully some strategic rotating of toys will keep them new and interesting.

Here are the toys we will start with on the desk. Lets see if I can actually manage to keep some hidden and rotate them. Time will tell!

Thursday, August 12, 2010

Getting Ready for School to Start

We still have a couple of weeks left of summer (our official start date is August 30th), but I have been working to get things ready to go for when we start school again. I like to be organized but also find it hard to have the time to get and stay organized. With two active boys and a busy toddler, I know there is little chance of major organization once school begins.

We will be using all new curriculum this year. We are going to try an on-line charter school for the first time. The boys are enrolled in the California Virtual Academy (CAVA) which uses the K12 curriculum.

Here is some of what I have done in the last few weeks:


I set up the computer work stations for the boys. I found this great long desk top at Ikea for a good price. We had the one old Mac that the boys have been using, and K12 sent us a new desktop PC. This way both boys can do their on-line lessons at the same time. For now, they can both play games at the same time.


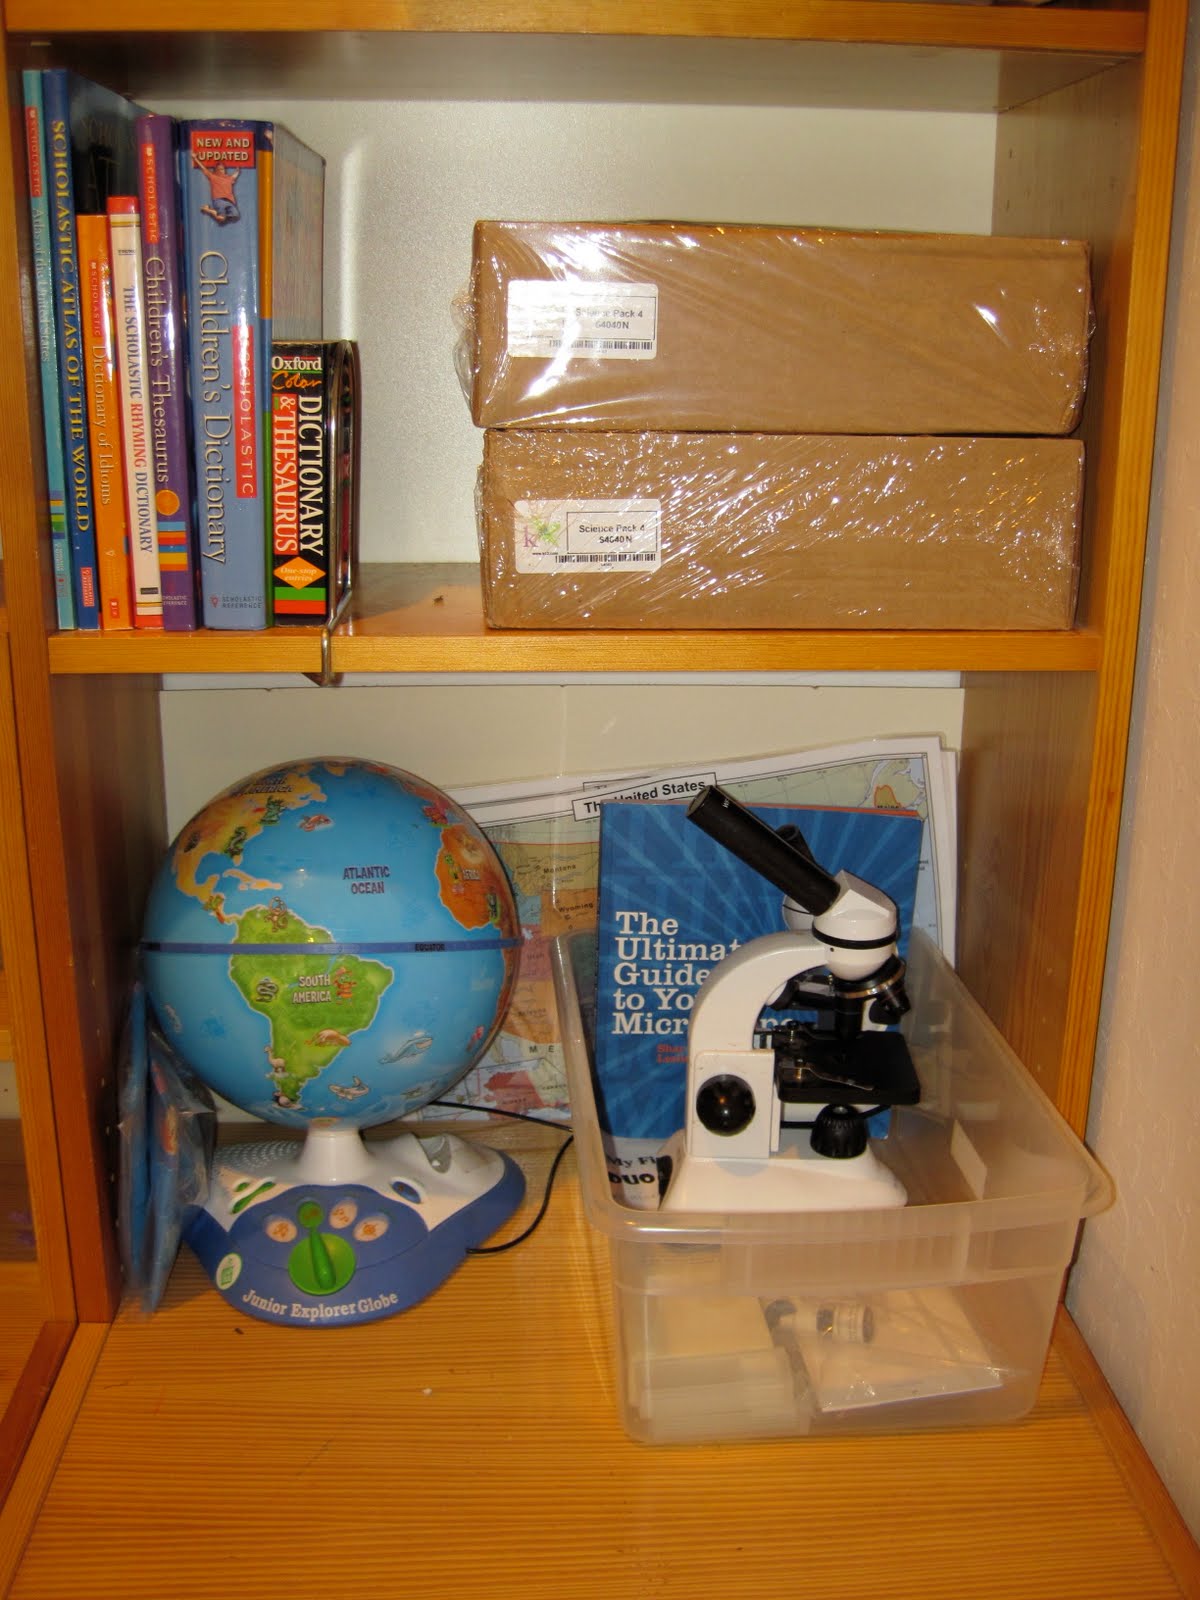
This is a kind of reference area. We have maps and globes, a microscope, science supplies and reference books such as dictionaries and atlases.


These are the shelves where I have all of the curriculum and my supplies. K12 sent us TONS of stuff. I'm pretty sure most of the worksheets will go unused, but there are great art supplies and hands on science equipment. The books for History, Science, Art, and Reading all look great. I like that they are not big text books, but collections of smaller books.

Each boy has a box of school supplies. There is a place to turn in completed work, and a place for me to keep assignments organized.


This is my work area. You can see that behind where I sit are the shelves that hold all of the books and supplies.

I have my computer to the right and will try to keep the desktop to the left of it clear so that the kids can come and sit there when they have work to do with me. We use the workbox system and they will each have "Mom" boxes that they will need to bring to me for us to do a lesson together. I am going to try out the rule that if I am sitting at my desk, I am available to do a "Mom" box.

This is about all I can do for now to get ready. Now we just need to take our trip to San Diego (Legoland, the Wild Animal Park, the beach) for our last bit of summer fun before school starts!

Sunday, July 18, 2010

It's Working!

Imagine my surprise that we are actually harvesting vegetables from my garden! It's working! I don't just have a lovely fence around a bunch of dirt and dead plants. Somehow, we have managed to get from this:


to this:


Sugar Snap Peas and Green Beans are ready to be picked!


Baby loves to eat the Sugar Snap Peas right off the vine:


Our first harvest of the summer:


"A good harvest!" said Shannon.

Saturday, June 5, 2010

Topographic Maps

How do you teach kids (or adults) how to read a topographic map? What do all of those contour lines mean anyway? This three-dimensional, hands on project is a great way to learn how topo maps work.

Papa and the boys are getting ready for a back packing trip next month. They have been learning a lot of things in preparation for the trip. For example, they have calculated how heavy their back packs can be at no more than 20% of their body weight. Another important skill to know is how to read a topo map.

Papa is a long time hiker, back packer, rock climber, mountaineer etc. So he knows all about top maps. You can find lots of general information on-line such as What is a Topographic Map? and Topographic map so you can read all about it, and even look at pictures, but nothing is as good as a hands-on-get-dirty-3D-learning-project!

A topo map of where we live:


Here is what you need:
  • plastic tub
  • dirt/clay/mud
  • piece of plexi-glass, clear plastic, as large as the tub
  • water and something to color it (a little powdered milk works well)
  • markers (if you use wet or dry erase you can easily clean off the plastic when you are through)
  • ruler


Day 1:

Build a land form model in your tub using dirt, mud, clay, etc. Make sure you have hills, valleys, mountain peaks, canyons, ridges and any other land forms you can think of or want to include. Let it dry and get firm for about 24 hours or so.


This is what our completed 3D model looked like:


Day 2:

Mix some powdered milk into the water. You just need enough so that it is not clear. You want to be able to see the edge of the liquid against the dirt.

Place the ruler in the tub with zero at the lowest point (sea level). Choose what interval you will mark at. We chose to fill the tub at 1cm intervals.


Next, pour the liquid until it reaches your first mark (i.e. one inch, 1cm)


Now lay the plastic over the tub and look straight down at it from the top. Trace the outline of the water at the first interval. You will gradually add contour lines for all of the different elevations.


Continue for the remaining intervals. Every 5th interval can be in a different color and show the "elevation" for an index line. When all of the land forms have been submerged you have a completed topographic map of your land form.


Now everyone has a much better idea of what all of those contour lines are on the topo maps!